make.slabs
make.slabs will generate D-Claw input files that specify an initial 3D landslide geometry from user-supplied files and parameters. make.slabs differs from make.scoops in that it will generate landslide source regions with a uniform depth over a user-provided polygon rather than spatially-variable depth based on logarithmic spirals. Optionally, the depth at the edges of the polygon may smoothly transition to zero rather than the default, abrupt transition. The typical usage for make.slabs is very similar to the typical usage for make.scoop.
Prepare a topography file as a geotif. If the area of interest includes submarine regions, the topography and bathymetry should be represented as a seamless surface in a single file.
Prepare or obtain a shapefile containing one or more polygons indicating landslide extents. Ensure that the geotif and shapefile have the same coordinate system.
Run
make.slabsto generate input files for D-Claw. Inspect the output and adjust any input parameters as needed.Using these files, set up a D-Claw simulation to run and analyze.
diggerwill not do this for you.
A code snippet that uses make.slabs may be found in the file digger/examples/pre-run/schultz_fire/make_slabs_polygon_h.py,
"""Example using digger.make.slabs.

This examples uses digger.make.slabs to generate input for an example at
the Schultz fire in Arizona.

The amount of material is specified using a polygon shapefile and a
depth of material.
"""

from digger import make

make.slabs(
    topo_path="../../../data/sch_bsn5210_topo_10m.tif",
    shapefile_path="../../../data/schultz_polygon_h.shp",
    q1_prefix="q1_sch_polygon_h",
    q4_prefix="q4_sch_polygon_h",
    b_prefix="b_sch_polygon_h",
    eta_prefix="eta_sch_polygon_h",
    dx_coarse=100,
    water_level=-9999,
    remove_h_from_topo=False,
    check_crs=True,
    plot=True,
    write_tt3=True,
    write_tif=True,
    fig_path="slab_source_schultz_polygon_h.png",
)
Attention
This code snippet is not fully self-sufficient. To reproduce the example, execute the code such that the relative path is correct. This may be done by executing the example script from within the directory in which it is located.
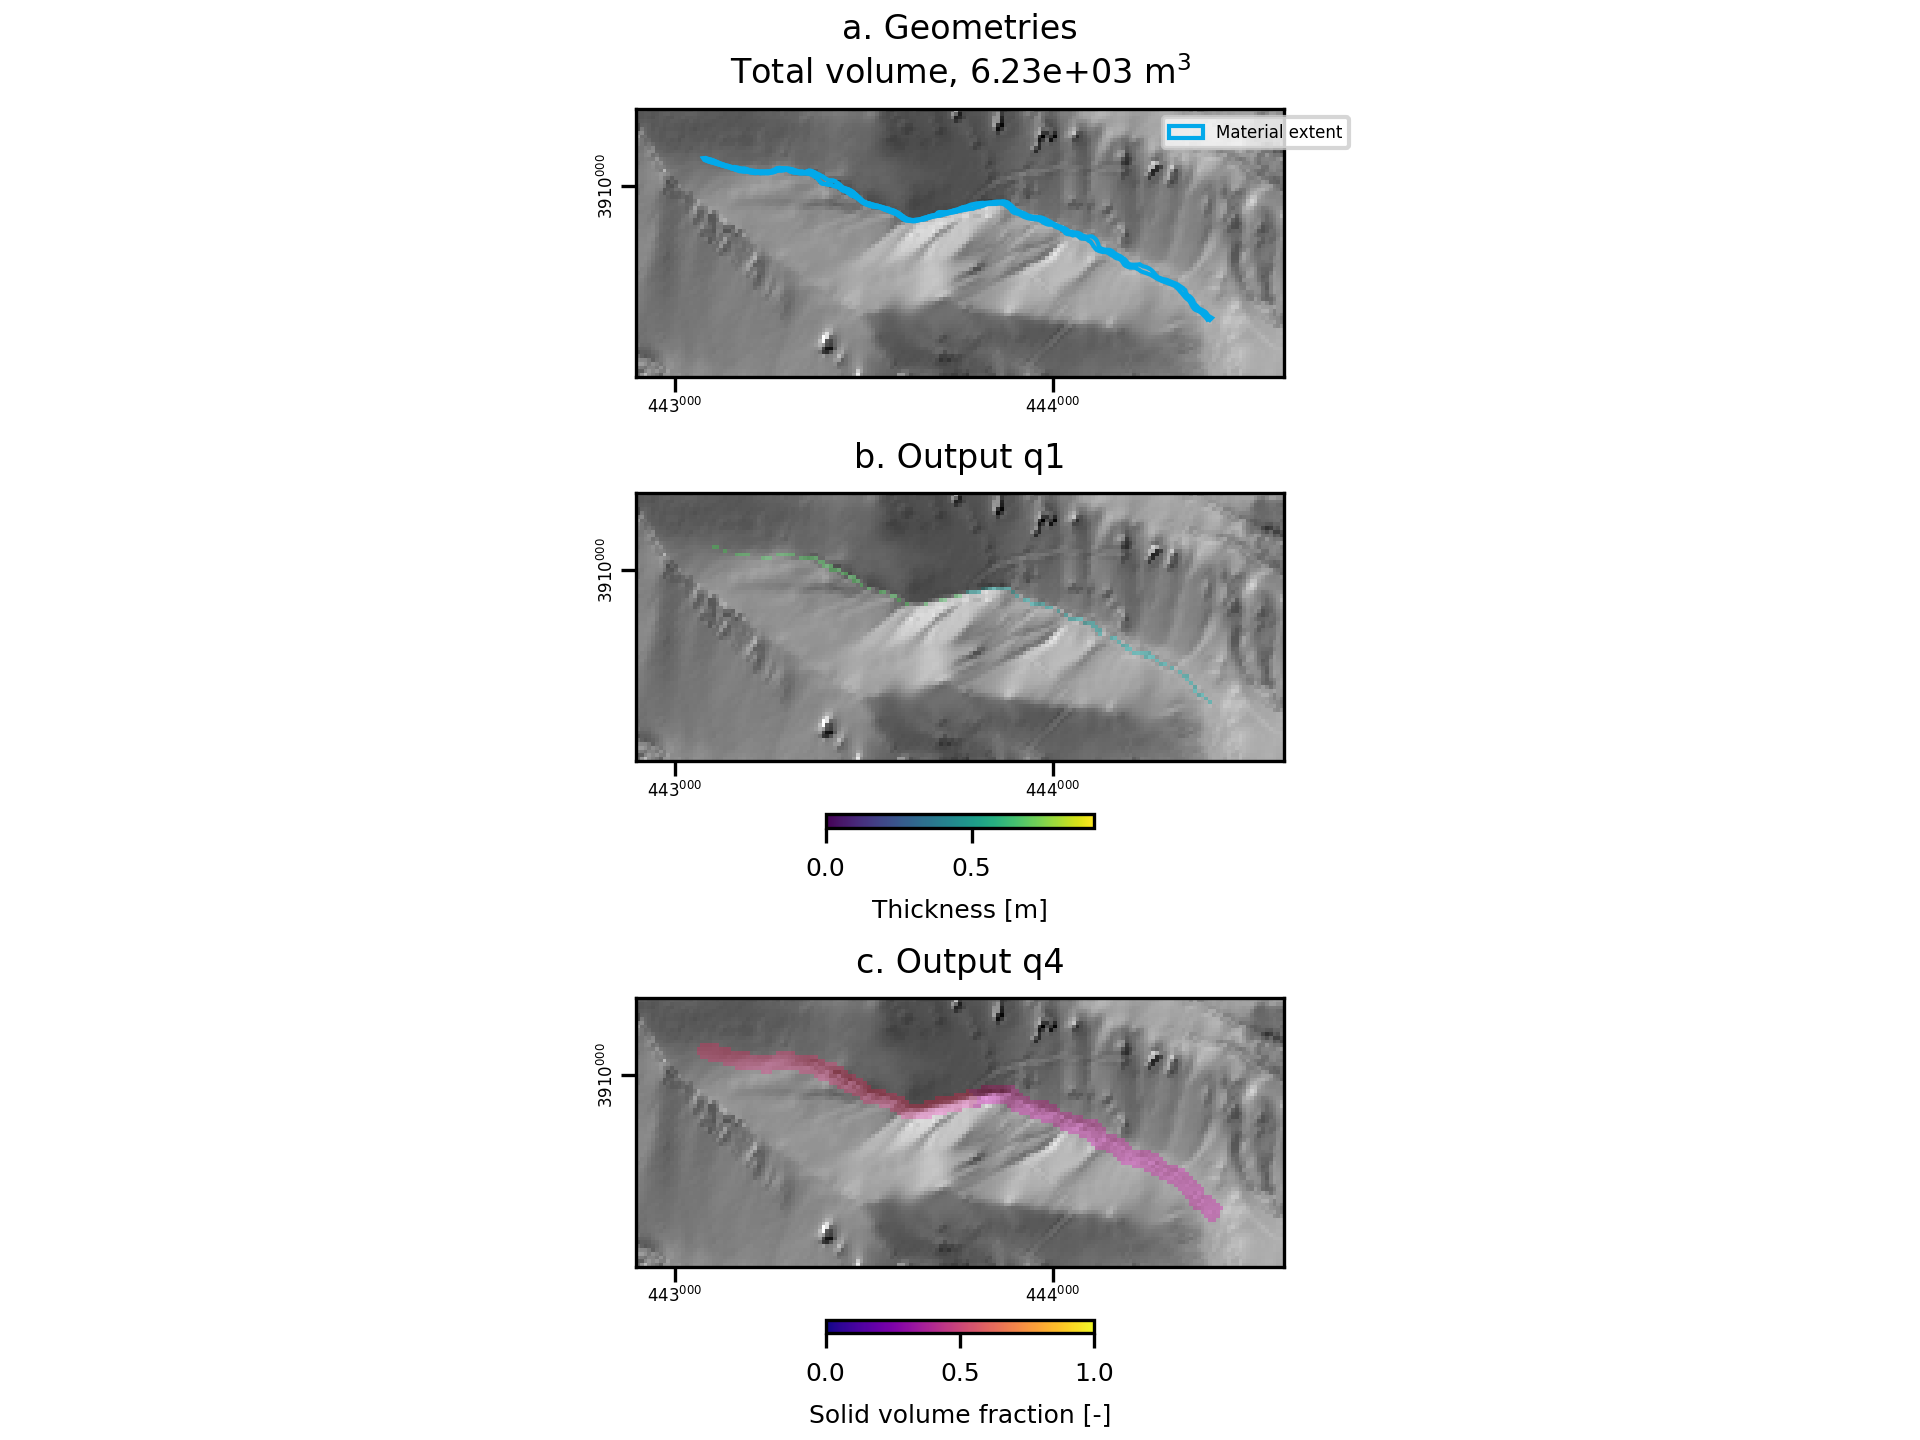
After this code runs, it will produce geotif and topotype3 files that specify the upper and lower surfaces of the landslide and the initial solid-volume fraction of the landslide material.
It will also create diagnostic figures to assist the user.

Fig. 11 An example of the diagnostic output provided by digger.make.slabs.